

 # Kitchen Shortcuts & Confidence: Knives, Paprika Powder, Blanching, and What to Do with a Too-Big Pork Butt
If your week feels like a never-ending meal-prep marathon, you’re not alone. Tiny choices—what knife you reach for, how you store spices, whether you blanch veggies a day ahead—add up to big differences for busy families. Pull up a stool: this roundup collects the practical fixes and kitchen reasoning I share with my line cooks and neighbors. Quick, sensible, and family-friendly, with a bit of chefly elbow grease.
## Ask away (and keep it kind)
Communities like “Ask Anything” threads are gold for quick, crowd-sourced tips. Want brand recs, recipe pivots, or troubleshooting help? Ask. Two simple rules: be polite, and treat food-safety answers as best practices rather than guarantees. If something smells or looks off, don’t play chicken—consult a trusted source or toss it.
## Knife basics: your small-but-mighty crew
You don’t need a drawer full of blades. A lean kit does most of the heavy lifting, and it makes your prep faster and safer.
– Essentials: one 8–10″ chef’s knife, a 6–8″ serrated bread/utility knife, and a paring knife. That trio covers chopping, slicing, serrated tasks (tomatoes, bread), and detail work.
– Fit matters: the right knife feels like an extension of your hand. Test balance and handle comfort in-store or borrow a friend’s. If it fights you, you’ll fight it back—bad idea.
– Care: hone weekly to keep the edge aligned; sharpen on a stone or send to a pro a couple times a year depending on use. A dull knife is more dangerous than a sharp one because it slips.
– Storage: a magnetic strip or block keeps edges protected and hands safe. Avoid tossing knives loose in drawers.
– Budget vs. splurge: good knives exist under $100—fit and maintenance beat fancy advertising. If you splurge, look for full-tang construction and a comfortable handle.
Why this matters: a dependable knife reduces prep time, yields cleaner cuts (better texture and presentation), and makes cooking more enjoyable. Confidence starts at the wrist.
## Rescuing clumpy homemade paprika (and why it happens)
You dehydrated peppers, blitzed them to a powder…and then it congealed into a fragrant brick. I’ve been there. Here’s the science and the fix.
– Why clumping occurs: peppers—even when “dry”—hold tiny amounts of moisture and natural oils. Those plus ambient humidity cause particles to stick together. Heat can also liquefy oils and re-solidify them into clumps.
– How to prevent it: dry peppers thoroughly. A food dehydrator is ideal because it dries at low, even temps and preserves volatile aromatics; if you use an oven, use the lowest possible temp and check frequently. Let dried peppers cool completely before grinding so steam doesn’t reintroduce moisture.
– Storage hacks: airtight glass jars and a food-safe desiccant packet are simple and effective. If you’re DIY-minded, a little uncooked rice tucked in a tiny cheesecloth sachet will absorb humidity. For a textural cheat, stir in about 1 teaspoon of cornstarch per cup of powder to keep granules free-flowing (this slightly alters mouthfeel, so only use if you plan to sprinkle rather than bloom in oil).
– If it’s already clumped: re-grind in a spice grinder or pulse through a food processor. If the aroma is dull after an oven rescue, that’s a sign you overheated it—next time dry gentler and grind just before using.
The takeaway: preserve aroma by drying low and storing airtight. When you taste a bright paprika, you’ll know why the extra minute matters.
## Blanching green beans the night before: yes — with a few caveats
Holiday timing is everything. Blanching green beans ahead saves time, but the method determines whether you get a crisp snap or a soggy mess.
– Blanch briefly: bring a pot of salted water to a boil and cook until bright and just tender—usually 2–4 minutes depending on thickness. Seconds count.
– Shock in ice water: plunge immediately into an ice bath to stop cooking and lock in color.
– Dry thoroughly: moisture is the enemy of texture. Spread beans on a towel, pat dry, or give them a gentle spin in a salad spinner.
– Store smart: an airtight container or bag with a folded paper towel to wick residual moisture helps; refrigerate up to 48 hours.
– Finish day-of: a screaming-hot pan and a quick sauté or flash roast revives texture and adds flavor. If beans come out limp, they were likely blanched too long or stored wet.
Why it works: blanching sets color and reduces final cooking time, while the shock stops enzymatic breakdown. Drying and reheating properly preserve cell structure so you still get that satisfying bite.
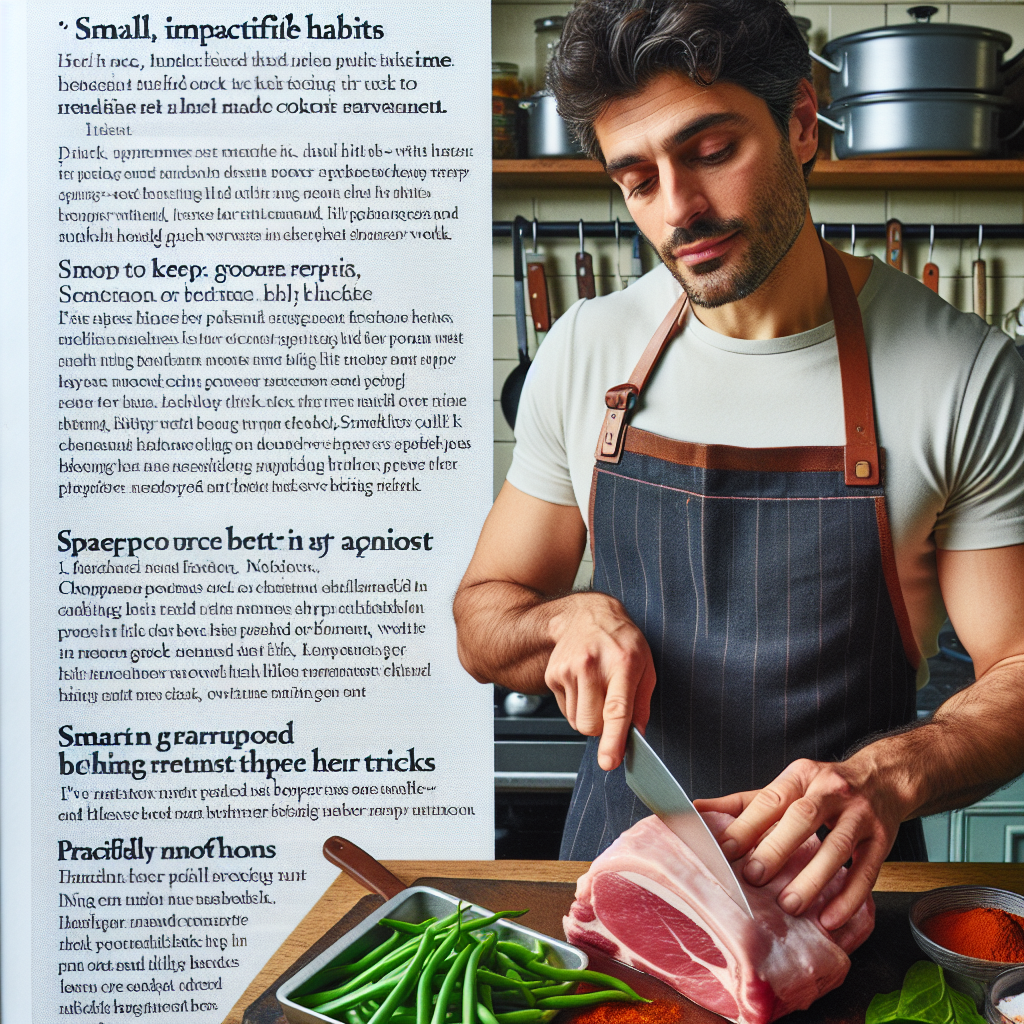
## Fitting a 9-pound pork butt into a 7.3-quart Dutch oven
Yes, it happens—your order arrives and the roast is a monster. Don’t force it; crowding prevents even cooking. Here are practical paths forward:
– Split it: cut the roast into two pieces along natural seams, not across the muscle grain. Smaller pieces brown and braise more quickly and evenly. Adjust cooking time and aim for the same internal temp: for pulled pork, target 195–205°F.
– Alternate cookware: a roasting pan, slow cooker, or rimmed baking sheet are fine alternatives. You can sear pieces in the Dutch oven for flavor, then transfer to a larger pan to finish.
– Thawing note: if frozen, fully thaw in the fridge before you decide where to cook—the texture and safety depend on it.
The principle here is circulation: heat and steam need space to move. Give them room and the pork will reward you with tender, evenly-cooked meat.
## Takeaway
Small preparations and the right tools let you cook smarter, not harder. Keep your knife selection focused and cared-for, dry and store spices to preserve brightness, blanch beans properly to save time and crunch, and don’t be shy about cutting a too-big roast into manageable pieces. These are the tiny pivots that change your kitchen from chaotic to calm.
Now it’s your turn: which one of these shortcuts will you try this week, and how might you tweak it to fit your family’s rhythm? Let’s taco ’bout it—share what you try and what you learned.

