

 # From Grinder Goals to Weird Organs: Practical Butcher Tips for Busy Families
If you grew up thinking all meat comes neatly wrapped in plastic and labeled “dinner,” welcome to the club of folks who are rediscovering what it means to use an animal fully. Lately I see more families, hunters, and weekend cooks asking two practical questions: how do I choose the right tools for processing meat at home, and how do I make odd cuts or organs into something my kids will actually try? Both questions come from the same place — curiosity, thrift, and a desire for better flavor — and they share similar answers: respect the ingredient, learn a few reliable techniques, and keep safety first.
## Why now: cultural and practical context
There are a few reasons more people are willing to handle a grinder or a package of heart: rising grocery costs, interest in nose-to-tail eating, and a cultural shift toward knowing where food comes from. For many families, a backyard hunter or local farmer supplying a quarter of a steer means stretching those meals farther. That opens opportunities — and questions — about equipment, training, and how to prepare cuts that restaurants often handle for you.
The deeper principle is simple: when you understand why a method works, you can make better decisions at home. Let me show you the why and the how for grinders, training, and organ meat.
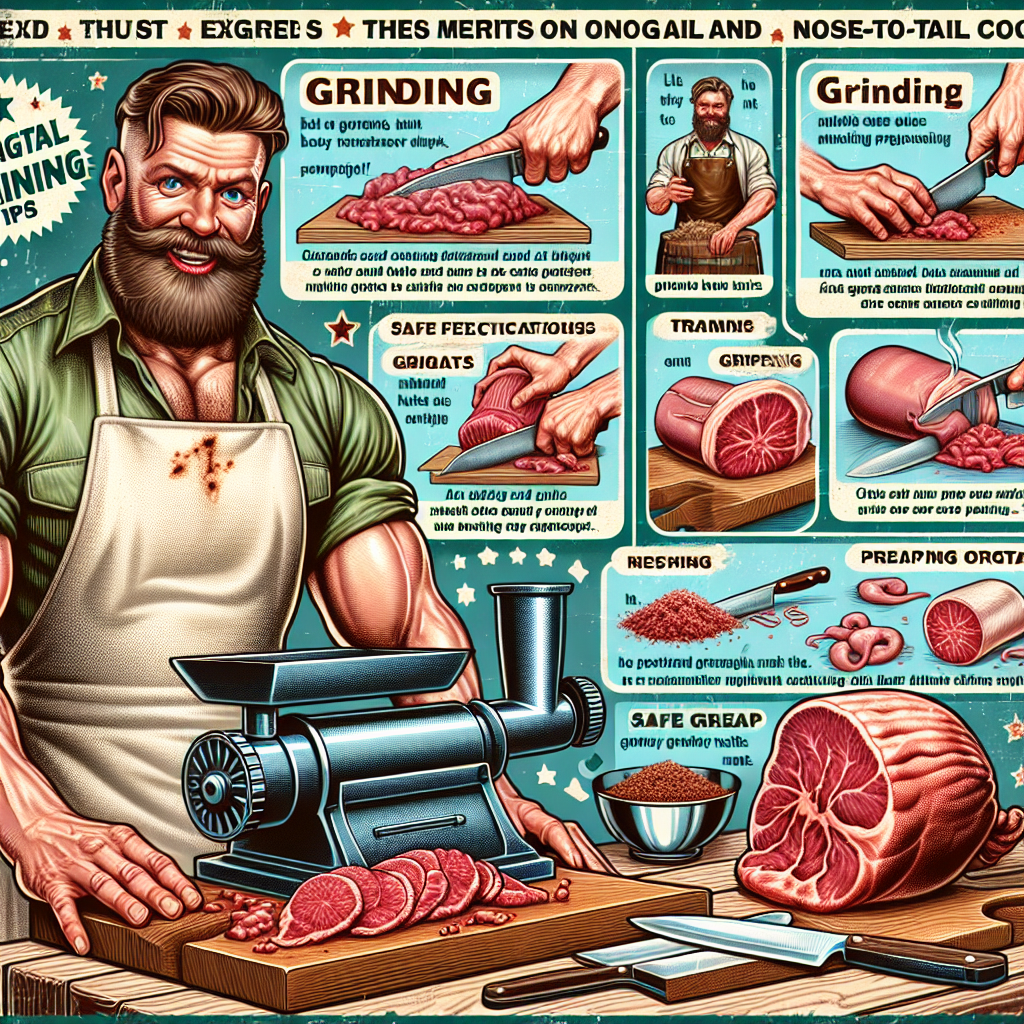
## Grinder basics: how to pick one that suits your life
Think about volume and frequency first. If you plan to grind a deer or a couple of hogs a year, a midrange electric home grinder will do the job. If you expect to process large animals frequently, look toward commercial machines or a local processor.
Practical specs to watch:
– Motor horsepower: 0.5 HP or higher for light hobby use; 1 HP+ if you expect heavy use.
– Feed tube size and throat: bigger means fewer jams when feeding whole pieces.
– Material and serviceability: stainless steel bodies and removable plates/blades clean easiest; a reverse function is a lifesaver when it binds.
Why the details matter: a weak motor or tiny feed tube turns a satisfying project into a headache. But you don’t need top-of-the-line unless you’ll grind a lot. Renting is a smart option for one-off jobs.
Prep tips that make grinding pleasant:
– Keep meat very cold. Partially frozen meat (around 20°F) results in cleaner cuts and less fat smearing. Cold fat cuts into tidy granules instead of creating a paste.
– Cube into ~1-inch pieces so the auger grabs evenly.
– Chill blades and plates for smoother operation.
– Work in small batches so the motor doesn’t overheat.
– Clean immediately and thoroughly; sanitation is as important as the grind consistency.
## Teaching the craft: small practices that stick
Professional shops train with repetition and structure because knife work is a motor skill. You can borrow that approach at home.
– Short, focused sessions: 30–90 minutes practicing a single skill twice a week beats one marathon day.
– Checklists: write down competencies — knife safety, portioning, trimming — and check them off when you or a family member can perform them confidently.
– Shadow and rotate: let beginners watch a few cuts done start-to-finish, then try a simple portion under supervision.
– Purposeful practice: start with easy tasks like trimming fat for a roast, then move to more technical things like butterflying a steak.
This turns intimidating tasks into a steady skill set you can rely on when company arrives or the grill needs a guest star.
## Understanding the boneless bottom blade roast (and what to do with it)
The boneless bottom blade roast comes from the chuck, near the shoulder — a hardworking area with connective tissue. That means flavor, and also the need for slow, moist heat.
How to treat it:
– Braise low and slow: 300°F oven or a slow cooker, 2–4 hours depending on size, until the meat yields to a fork.
– Pot roast technique: brown in a hot pan first for flavor, then cook with aromatics and liquid to tenderize.
– Want steak-like texture? Seek flat iron or top blade for quick searing instead; same region, different muscle.
Why this works: heat plus moisture breaks down collagen into gelatin, which gives body and tenderness without losing that beefy depth.
## Making friends with organ meat: inspect, cook, enjoy
Organs provoke a lot of reaction, often because their appearance is unfamiliar. But most odd-looking things are harmless if you know what to check.
– Color: Hearts and other working muscles are darker due to myoglobin — that deep red is normal.
– Leakage: Blood in a package can be from partial thawing or puncture; not automatically unsafe if storage was proper.
– Smell and texture: these are your primary safety checks. A sour or putrid odor, a sticky or slimy texture after thawing, or a fuzzy surface mean toss it.
Cooking tips:
– Heart: treat it as muscle — quick sear for thin slices (think skirt steak technique) or slow braise for thicker pieces.
– Liver: cooks fast; avoid overcooking to prevent dryness and metallic flavors.
– Kidneys and sweetbreads: soak or blanch briefly to tame strong flavors, then finish with a bold pan sauce.
Why try organs: Economically they stretch a budget, nutritionally they pack vitamins and minerals, and culinarily they introduce textures and flavors that can elevate simple meals.
## Safety first, curiosity second
Online photos and threads are great for inspiration, but they can’t replace touch and smell. If you suspect spoilage, ask your butcher or the place of purchase to inspect it. When in doubt, throw it out. It’s not thrift to risk foodborne illness.
## A final practical thought
Treat learning this stuff like a family project: pick one technique, practice it together, and celebrate small wins. Grind one batch of sausages, braise that bottom blade roast until it sings, and invite opinions at the dinner table. You’ll save money, learn useful skills, and give your family stories to pass on.
So — what’s one meat you haven’t tried preparing at home yet, and how would you like to transform it for dinner this weekend?

